❤️巴萨历史7款球衣,你最喜欢哪一件?0分享至用微信扫码二维码分享至好友和朋友圈巴萨历史7款球衣,你最喜欢哪一件?特别声明:以上内容(如有图片或视频亦包括在内)为自媒体平台“网易号”用户上传并发布,本…
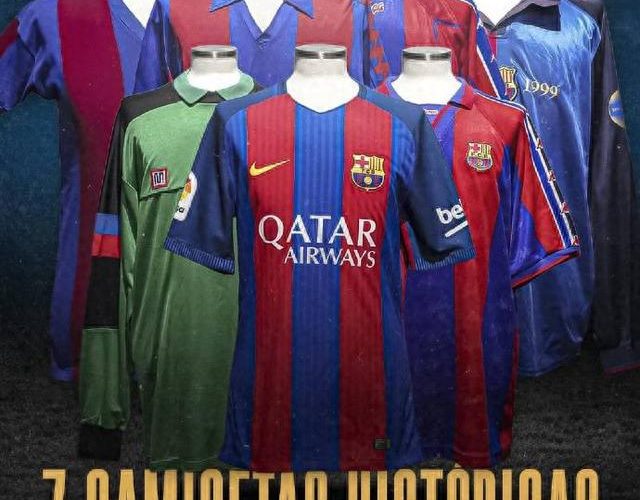
❤️巴萨历史7款球衣,你最喜欢哪一件?
开云体(中国)官方网站登录·科技有限公司【哈宝信誉推荐】成立于1995年,是北京市城南一家大型股份(合作)制企业,注册资金1.47亿元,拥有职工1800余人。京内主要产业均分布“首都商务新区”之内,紧邻北京市南三环木樨园桥、北京南站、南苑机场、木樨园长途汽车站、地铁十号线,具有良好的商业位置和便利的交通条件,产业主要有北京大红门服装商贸城、福成大厦、福海国际三座标志性的商厦,为本地区广大商户开启了财富之门,推动了整个大红门商务区的形成。
开云体(中国)官方网站登录·科技有限公司【哈宝信誉推荐】成立于1995年,是北京市城南一家大型股份(合作)制企业,注册资金1.47亿元,拥有职工1800余人。京内主要产业均分布“首都商务新区”之内,紧邻北京市南三环木樨园桥、北京南站、南苑机场、木樨园长途汽车站、地铁十号线,具有良好的商业位置和便利的交通条件,产业主要有北京大红门服装商贸城、福成大厦、福海国际三座标志性的商厦,为本地区广大商户开启了财富之门,推动了整个大红门商务区的形成。
❤️巴萨历史7款球衣,你最喜欢哪一件?0分享至用微信扫码二维码分享至好友和朋友圈巴萨历史7款球衣,你最喜欢哪一件?特别声明:以上内容(如有图片或视频亦包括在内)为自媒体平台“网易号”用户上传并发布,本…

NBA晚报|东欧进历史最佳 丁威迪称队友儿子 獭兔不参与交易0分享至用微信扫码二维码分享至好友和朋友圈NBA新赛季即将开始,各队都开启训练营。很多球星在训练结束后接受了采访,布克觉得自己可以做好防守,…
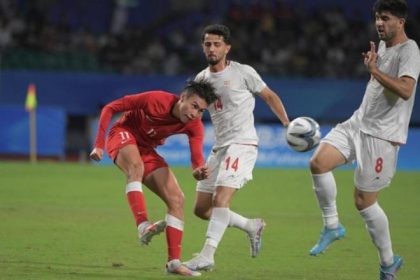
韩媒:中国香港男足的英雄,偶像是孙兴慜,一直在模仿他0分享至用微信扫码二维码分享至好友和朋友圈亚运男足1/4决赛,中国香港爆出大冷门:潘沛轩打进唯一进球,帮助中国香港1-0战胜伊朗队,历史性闯入亚运男…
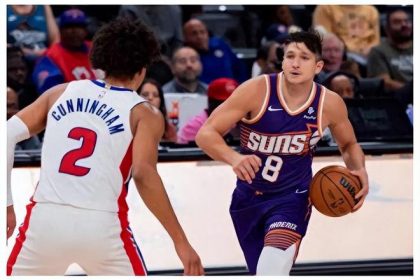
三巨头首秀后!沃格尔摊牌湖人,杜兰特点评透彻,詹姆斯被冤枉了0分享至用微信扫码二维码分享至好友和朋友圈NBA季前赛太阳加时130-126险胜活塞,其实本场一直没什么悬念。在杜兰特比尔和布克一同出战的1…
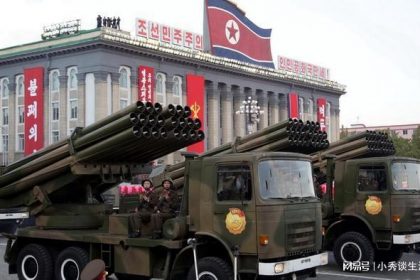
哈马斯被发现拥有朝鲜制造的火箭炮0分享至用微信扫码二维码分享至好友和朋友圈勒斯坦武装哈马斯被发现拥有朝鲜制造的武器,引起关注。据美国媒体10日报道,在哈马斯成员的视频中,可以看到其中一名成员手持F-7…
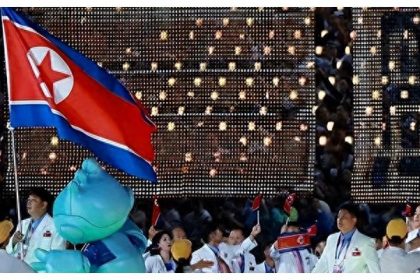
世界反兴奋剂机构敦促杭州亚运会禁止朝鲜国旗,威胁制裁决心0分享至用微信扫码二维码分享至好友和朋友圈朝鲜亚运会国旗争议:WADA背后的真实动机 近日,第19届亚运会在杭州盛大开幕,朝鲜代表队再次亮相赛场…

以色列驻华使馆证实,一名中以混血女子被哈马斯绑架!0分享至用微信扫码二维码分享至好友和朋友圈一段视频在全球各大社交平台流传:一名年轻女子坐在一名骑摩托车的男子身后,绝望地尖叫道:“别杀我! 不不不!”…
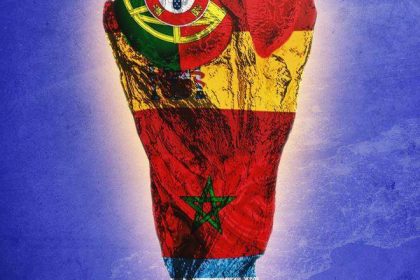
只剩25天!若中国想办2034年世界杯 需在本月底前提交意向原标题:只剩25天!若中国想办2034年世界杯 需在本月底前提交意向
北京时间10月6日消息,在确定2030年世界杯由三大洲六个国家联合举…
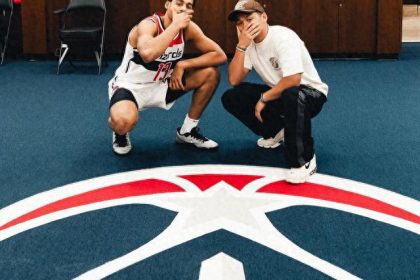
再见了湾区!著名摄影师jsquared跟随普尔来到华盛顿!0分享至用微信扫码二维码分享至好友和朋友圈直播吧10月3日讯 今天是NBA诸多球队的新赛季媒体日。乔丹-普尔现身奇才主场拍摄了新赛季定妆照,跟…
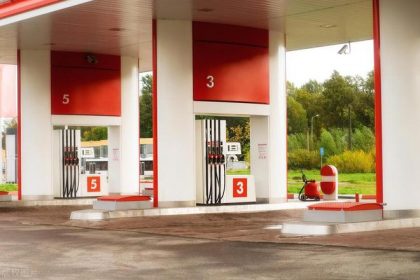
油价“闪电下跌”,10月7日调整后92-95汽油价格,猪价、蛋价如何0分享至用微信扫码二维码分享至好友和朋友圈国内油价调整最新消息,距离10月10日油价调整还剩几天的时间,国内汽油价格有希望从上涨开局…